Diy Kitchen Backsplash Installation : Do i need backer board for kitchen backsplash?. Choose a tile pattern by laying the tiles in a couple designs (image 1). If it is not, stand a tile at the lowest spot and mark a level line on the wall at the tiles top this will be your starting point. A tile backsplash is a great way to change the look and feel of your kitchen. Use a standard level or laser level to extend this reference line across the wall and around the entire area that is being tiled (image 3). How much tile do i need for my kitchen backsplash?
Using a wet tile saw, cut the tiles in half to make a border for the bottom edge (image 1). The tops of all tiles in the bottom row must meet this line or be cut (from the bottom) to line up with the mark. Tiles installed above this line will not require cutting. How do i create a kitchen backsplash? How to install a backsplash in a kitchen step 1.
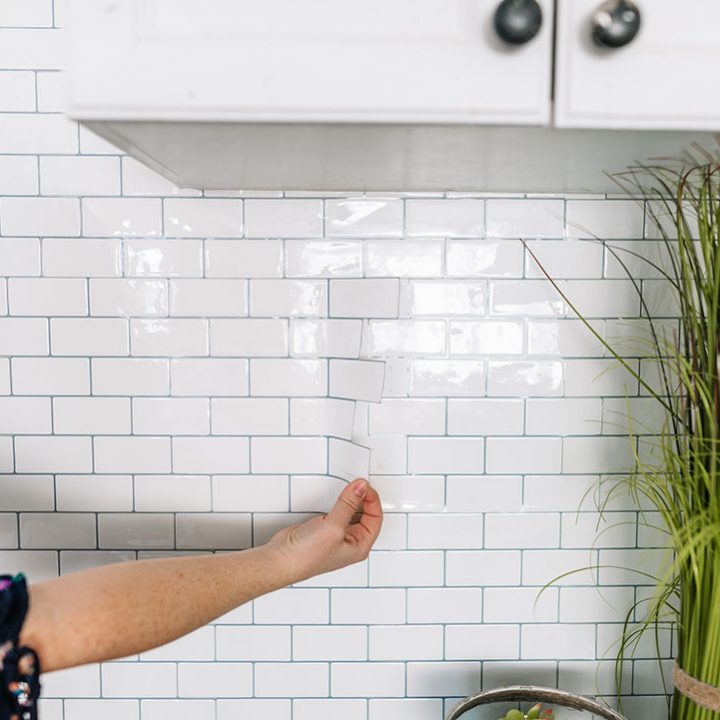
How To Install Peel And Stick Tile Backsplash The Diy Mommy from thediymommy.com When you reach the top row, cut the tiles as necessary to fit around the cabinets. Check that the countertop is level. Cut tiles as needed for electrical outlets, pipes or other obstacles. A tile backsplash is a great way to change the look and feel of your kitchen. The tops of all tiles in the bottom row must meet this line or be cut (from the bottom) to line up with the mark. Apply adhesive to the wall option 1: See full list on diynetwork.com If one side of your tile work will have exposed edges, use whole tiles near this edge and cut only the tiles that end at the wall.
If one side of your tile work will have exposed edges, use whole tiles near this edge and cut only the tiles that end at the wall.
Apply adhesive to the wall option 1: See full list on diynetwork.com Grout can dry out, so mix only what you will be using in the next 20 to 25 minutes. Walmart.com has been visited by 1m+ users in the past month Tiles installed above this line will not require cutting. If you are tiling a small area where you can't fit the trowel into, apply the adhesive directly to the back of the tile known as \\back buttering\\. More images for diy kitchen backsplash installation » To prevent grout from staining or sticking to porous natural tiles like stone and terra cotta, check with your tile distributor to see if they require a commercial sealer before you apply grout. For smaller cuts on ceramic, porcelain or stone tile, you can use a tile nipper to round corners or make small cuts. Jul 07, 2021 · install, grout and finish the backsplash step 1: See full list on diynetwork.com Choose a tile pattern by laying the tiles in a couple designs (image 1). After you have completed two or three rows, measure and cut corner tiles to size and set them in place with the cut edges facing into the corners.
If it is not, stand a tile at the lowest spot and mark a level line on the wall at the tiles top this will be your starting point. How do i create a kitchen backsplash? How much tile do i need for my kitchen backsplash? Jul 07, 2021 · install, grout and finish the backsplash step 1: After you have completed two or three rows, measure and cut corner tiles to size and set them in place with the cut edges facing into the corners.
Diy Kitchen Backsplash With Lolly Jane Inspirations Jeffrey Court Hd from hd.jeffreycourt.com Where to start a tile backsplash? Check out our guide to learn more about installing tile backsplash: To prevent grout from staining or sticking to porous natural tiles like stone and terra cotta, check with your tile distributor to see if they require a commercial sealer before you apply grout. Wipe off the dust and debris with a damp rag. Jul 07, 2021 · install, grout and finish the backsplash step 1: Apply adhesive to the wall option 1: Margaret chooses a diagonal pattern. How to install a backsplash in a kitchen step 1.
Mix thinset or your chosen tile adhesive according to directions and spread on a small section of the wall with a drywall trowel.
If one side of your tile work will have exposed edges, use whole tiles near this edge and cut only the tiles that end at the wall. More images for diy kitchen backsplash installation » How do i create a kitchen backsplash? A tile backsplash is a great way to change the look and feel of your kitchen. The tops of all tiles in the bottom row must meet this line or be cut (from the bottom) to line up with the mark. Grout can dry out, so mix only what you will be using in the next 20 to 25 minutes. See full list on diynetwork.com To prevent grout from staining or sticking to porous natural tiles like stone and terra cotta, check with your tile distributor to see if they require a commercial sealer before you apply grout. You can use a manual snap cutter (image 1) for most ceramic or porcelain tile. Mix thinset or your chosen tile adhesive according to directions and spread on a small section of the wall with a drywall trowel. If it is not, stand a tile at the lowest spot and mark a level line on the wall at the tiles top this will be your starting point. Tiles installed above this line will not require cutting. See full list on diynetwork.com
Unsanded grout is usually specified for wall installations, glazed tiles, and tile with narrow grout lines. Where to start a tile backsplash? Wipe off the dust and debris with a damp rag. Cut tiles as needed for electrical outlets, pipes or other obstacles. The tops of all tiles in the bottom row must meet this line or be cut (from the bottom) to line up with the mark.
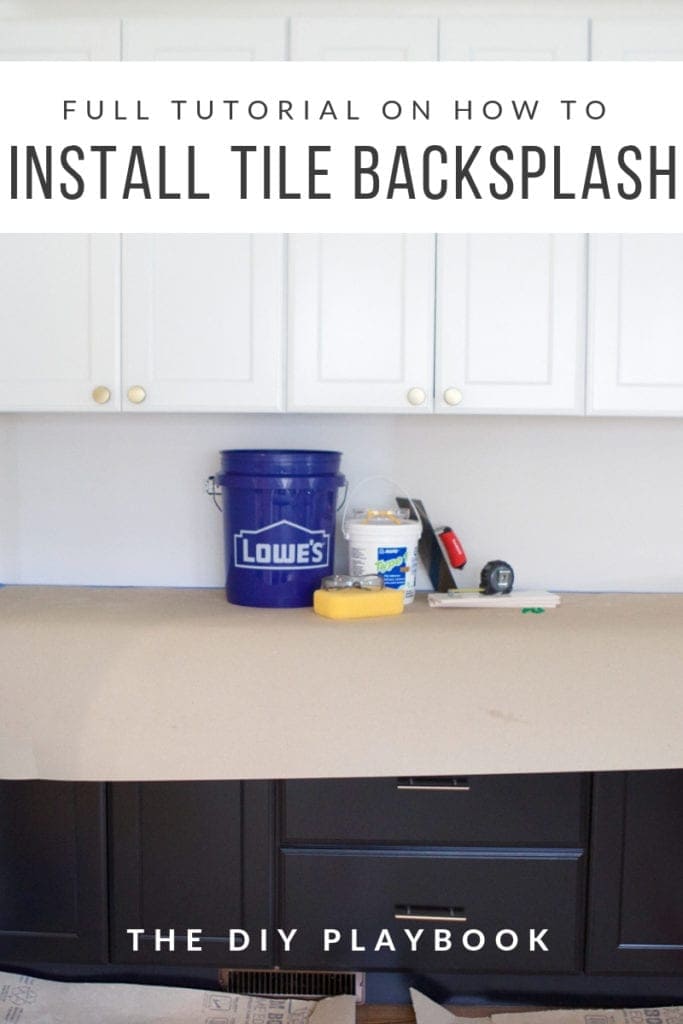
How To Install Backsplash Tile The Diy Playbook from thediyplaybook.com Mix thinset or your chosen tile adhesive according to directions and spread on a small section of the wall with a drywall trowel. Wipe off the dust and debris with a damp rag. Choose a tile pattern by laying the tiles in a couple designs (image 1). How to install a backsplash in a kitchen step 1. More images for diy kitchen backsplash installation » See full list on diynetwork.com Using a wet tile saw, cut the tiles in half to make a border for the bottom edge (image 1). A tile backsplash is a great way to change the look and feel of your kitchen.
Using a wet tile saw, cut the tiles in half to make a border for the bottom edge (image 1).
Where to start a tile backsplash? See full list on diynetwork.com If you are tiling all the way up to the cabinets, place the cut tiles or uneven gap just below the cabinets where it won't be as noticeable. Apply adhesive to the wall option 1: The tops of all tiles in the bottom row must meet this line or be cut (from the bottom) to line up with the mark. Use a standard level or laser level to extend this reference line across the wall and around the entire area that is being tiled (image 3). See full list on diynetwork.com For smaller cuts on ceramic, porcelain or stone tile, you can use a tile nipper to round corners or make small cuts. Using a wet tile saw, cut the tiles in half to make a border for the bottom edge (image 1). When you reach the top row, cut the tiles as necessary to fit around the cabinets. Walmart.com has been visited by 1m+ users in the past month Mix thinset or your chosen tile adhesive according to directions and spread on a small section of the wall with a drywall trowel. Grout can dry out, so mix only what you will be using in the next 20 to 25 minutes.


0 Komentar